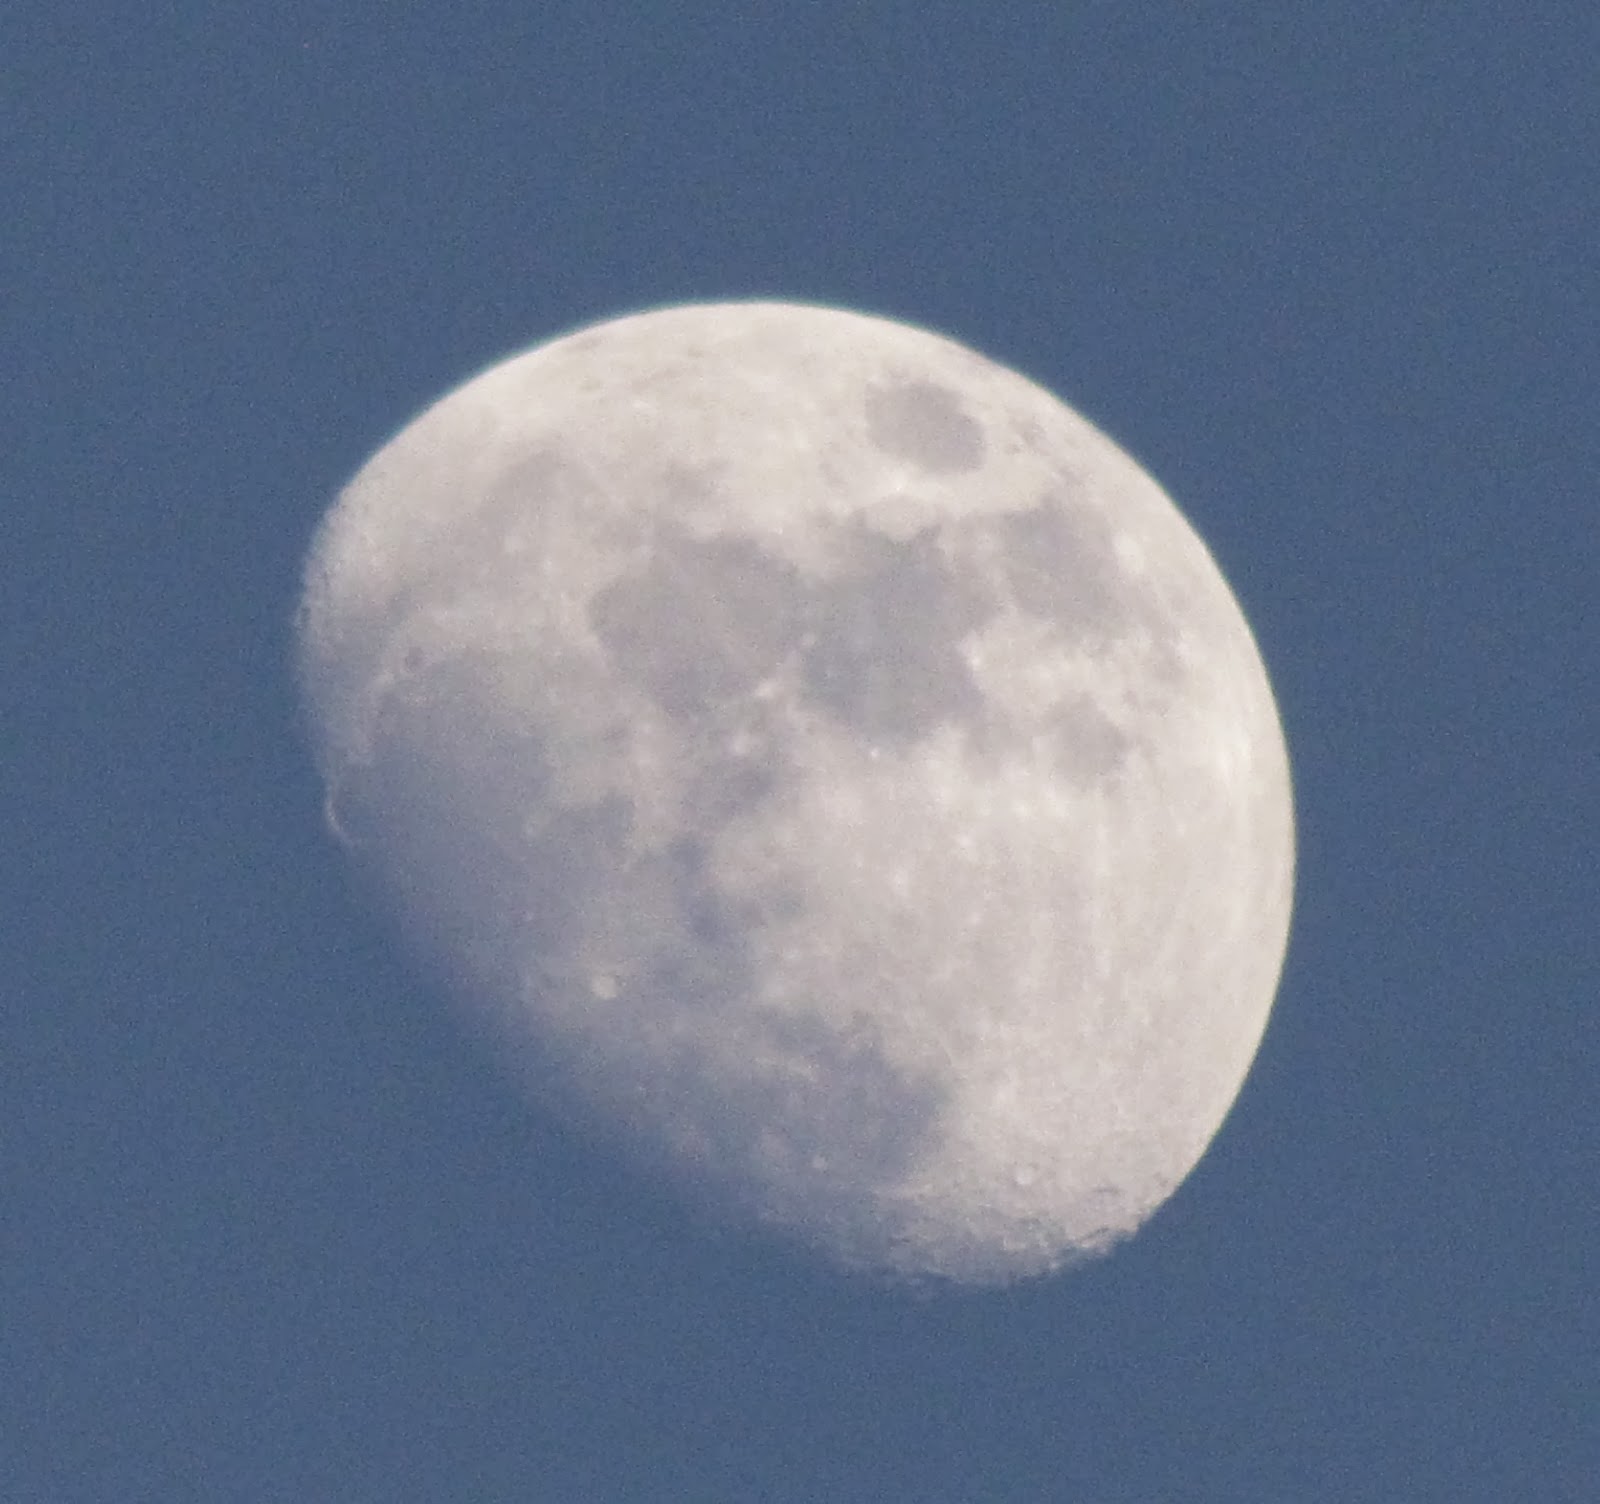
Several have asked for a tutorial for taking moon photos - so here we go.
First you need your supplies - a camera - a tripod and a moon.
The camera - Canon PowerShot 30SX IS - which will zoom to 140X - and a tripod
A tripod with a very long neck is helpful - so you don't have to bend too much
An articulated view finder screen is a must for me when photographing the moon
The tripod must also tilt - so you can aim at the moon
Turn the camera in the general direction of the moon
Find the moon - this might take a little doing in the daylight - as it doesn't show up at first on the screen
Take a test shot of the moon - just to make sure you can see it.
Zoom in - focus - and shoot! That's about all there is too it. I use the auto setting for night shots in a dark sky - and scenery setting for daylight - my camera does the rest.
The most important item is a tripod - with such a high magnification your breathing and slight body movements are also magnified and blurry pictures are almost a guarantee if you don't have the tripod
A helper was needed for this tutorial - to take the pictures of the big camera I used my little hot pink camera - she's a helpful little camera and stronger than you think - I dropped her in a bowl of ice water one time (trying to take pictures of blanching peaches for peeling) and after quickly removing the battery and the card and using a hair dryer on her, she lived in a bag of rice for over a week - and was good as new. She mostly lives in my pocket - for those spur of the moment photos.
And now some other moon shots - taken on other days
The darker the sky - the better the craters show up in the photos
Taken by my friend Franni, in Florida - we have the same camera

One of my first moon shots - it was the harvest moon and dozens of photographers gathered at a lake just blocks from our house - we waited and waited - our cameras on the tripods - trying to guess exactly where the moon would rise. Don spotted it first - and he wasn't even taking photos. Such excitement - the moon rises fast and you have just a few moments to get the effect of the color and the size of the harvest moon. I caught it just as it came up over the nearby hills - and the next shot it was already above the trees.
Nearly night sky
Daylight moon
And a couple more of my favorite moon collages
The moon rising over our roof
I hope this answered your questions - if you have more - feel free to ask.


9 comments:
These pictures are amazing and beautiful. Lovely!
Awesome moon shots. I love the colorful Harvest moon! Gorgeous photos. Thanks for sharing the tips.. Enjoy your week ahead!
These are breathtaking photos! You did an outstanding job with them. Tanks so much for the tutorial. I don't have a camaraderie right now. A using my phone and my IPAD, but I really love your camera!
xo
Sheila
Great moon shots. i have never used a tripod and they sound like a lot of work besides. So far i have been lucky with moon shots. Somedays their perfect and somedays not11
Your shots are great. MB
Really beautiful moon shots, JoAnn. Love the harvest moon just coming above the treeline. And the shots with craters - wonderful!
Great tutorial! Thanks! And, of course, spectacular shots of the moon. Now I've got to unearth my big, bulky tripod and start putting it to use.
Really spectacular JoAnn - I need to get my tripod out and try this - but it must warm up first!!
Mary
Amazing shots, JoAnn. You are such a professional! I need a new camera and a tripod. Thanks for the tips..Happy Monday..Judy
Beautiful camera work JoAnn, The picture of the Harvest Moon are spectacular. Thank you for these very useful tips on how to get a great picture of the moon. I knew it wasn't my fault the long distance shots I take (of the moon or anything else) are always blurry. I need a good tripod! And maybe a better camera would help too. Also a little training on composition for taking the perfect picture wouldn't hurt either.
Post a Comment